
Jinja Components?
web html frontend ui-ux design flask jinja python
Table of contents
The component architecture is incredibly popular in modern webdev. When I first started developing the popular way of doing things was to think in pages. Essentially in your application you would have a templating language, and you would build up each page as a separate file, and render it with your templating language:
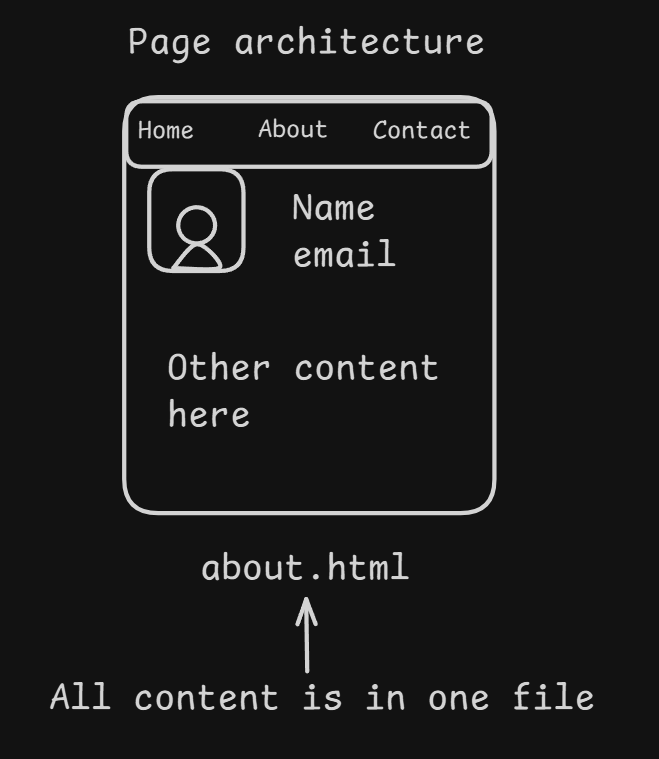
This was popular, but it had a few issues, the biggest of which was constantly copy-pasting code. As time went on other frameworks took a different approach, in particular one popular approach was to have pages, but then build up those pages using different “pieces” we called components. So for example we can put our navbar into a component, and re-use it on every page, or standardize how user profiles appear, etc.:
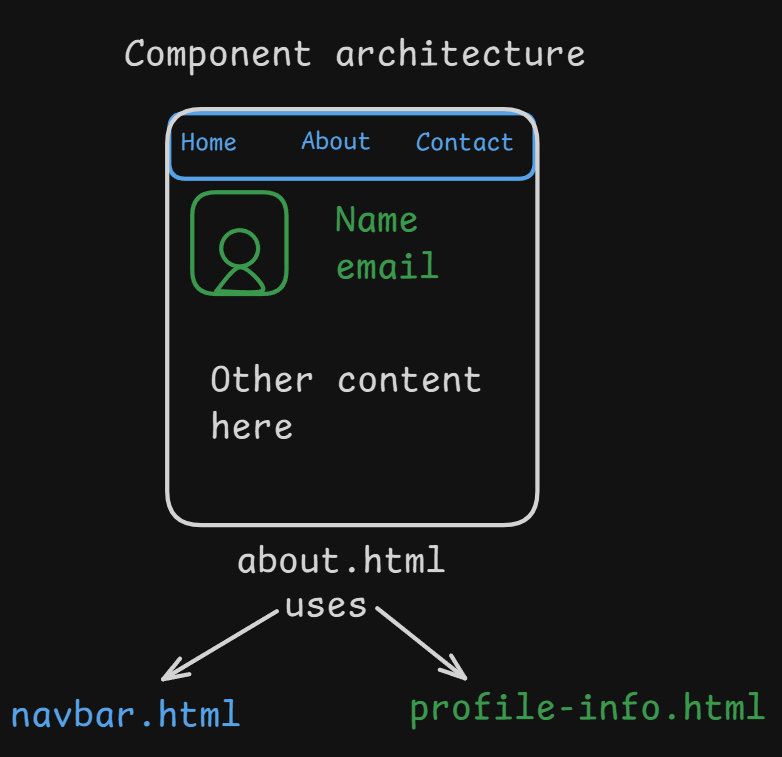
Many years ago I started using flask for web development. It was the framework that started off my journey, and jinja by extension, was my first foray into templating languages. Having used many of them since (Handlebars, pug, twig, hugo, jsx, etc.), I still find myself reaching for Jinja, and jinja-like (i.e. nunjunks, fiber-django etc.) systems. One consistent complaint I used to get when I suggested people to try out flask (and by extension Jinja), was that “you can’t use components”. People who are coming from the React/JSX framework world are very attached to components, and are upset when they can’t use them. But you can use components in Jinja, it’s actually really easy to do!
So for this article I wanted to show off a simple example of what I would recommend as an easy to get started way of using Jinja with components. Then at the end I will also include an example of how to do this with flask, so you can expand this into all sorts of simple web apps! For this demo we’re going to create a simple page that lists a bunch of randomly generated people:

To do this we will make the card that each person’s information is on into a component, and then re-use that component for each of the people.
It begins
So to get started, I will give you an idea of what the project layout looks like before we fill in the gaps:
📂/
├─ 📂templates/
│  ├─ 📂components/
│  │  ├─ 📄card.jinja
│  ├─ 📄base.jinja
│  ├─ 📄index.jinja
└─ 📄main.py
The breakdown is:
main.py: is what will compile the jinja templates into the resulting html/templates: is the folder where all the templates will live/templates/base.jinja: The “base” template that subsequent pages will extend/templates/index.jinja: The “homepage” (extendsbase.jinja)/templates/components: Where the components used in the other pages will live/templates/components/card.jinja: A card component
On top of this there are 3 other tools used in this example:
- picocss; The CSS framework that’s being used
- faker; A library to generate fake data
- dicebear; An api to generate random avatar images
The full code can be found at https://github.com/Descent098/components-in-jinja. If you want to follow-along I recommend downloading the repo, and going from there.
Setting up Jinja
First things first, we need to add our jinja code to main.py in order to render our templates. This is pretty simple, and will look something like this:
# 1. Imports
from jinja2 import Environment, select_autoescape, FileSystemLoader

# 2. Setup the environment
env = Environment(autoescape=select_autoescape(), loader=FileSystemLoader("templates"))

# 3. Load a template
example_template = env.get_template("index.jinja")

# 4. Render template with variables
html = example_template.render()

with open("index.html","w+") as output_file:
    output_file.write(html)
If you’re not to familiar with jinja, essentially env is our Environment. It’s the system that has access to the files based on that FileSystemLoader. From there we need to actually load a template, so we call env.get_template() to load the contents of the file into a Template object. We then actually run jinja when we call Template.render(), which returns the resulting html as a string.

So essentially this code will look for a file at templates/index.jinja, render it, and then write it to a file called index.html. Now, our basic approach with this demo is that index.jinja is going to inherit from base.jinja, then we will use templates/components/card.jinja inside index.jinja to show off each individual person:

Now here’s where the components comes in. It’s time to look at building an individual card for a person. The template will look like this:
templates/components/card.jinja
<article>
    <figure><img src="{{image}}" width="200px"/></figure>
    <aside>
        <header>{{name}}</header>
        <hr>
        <footer>{{description}}</footer>
    </aside>
</article>
Pretty simple, then to use our component we just need to make sure we give it an image, name, and description variable. We can now take a look at our index.jinja file, and incorporate our new component:
{% extends "base.jinja" %}

{% block content %}
<div class="grid">
  {% include "components/card.jinja" %}
</div>
{% endblock content %}
Then we just pass in our variables in our render:
main.py
# 4. Render template with variables
name = "kieran"
image_url = f"https://api.dicebear.com/9.x/pixel-art/svg?seed={name}"
html = example_template.render(name=name, image=image_url, description="lorem ipsum")
This will leave us with:
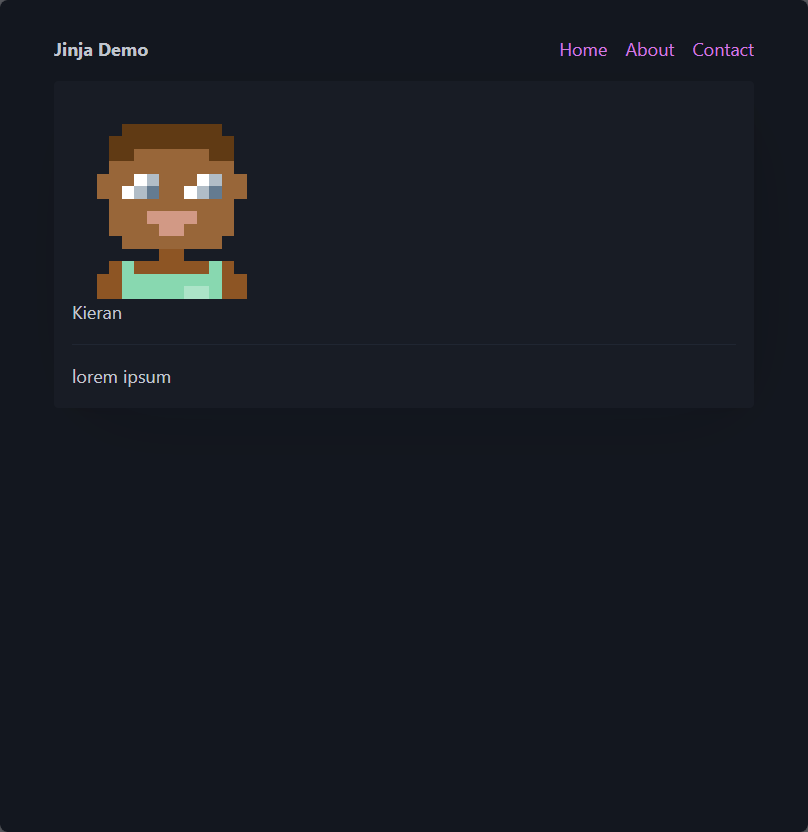
That’s great, our component works! Now it’s time to make better use of it. To make things easy I’m going to use faker to generate some fake people. We can create a function called generate_person(), which will generate some fake data for us, and use that to make a list of people:
main.py
# 1. Imports
from jinja2 import Environment, select_autoescape, FileSystemLoader
from faker import Faker

people = []
fake = Faker() # Used to generate fake people

def generate_person() -> dict:
  name = fake.name()
  return {
    "name":name,
    "image":f"https://api.dicebear.com/9.x/pixel-art/svg?seed={name}",
    "description":fake.catch_phrase()
  }

...

# 4. Render template with variables
for _ in range(5):
    people.append(generate_person())
html = example_template.render(people=people)
Now we can modify our index.jinja file to loop through the people and render them:
index.jinja
{% extends "base.jinja" %}

{% block content %}
<div class="grid">
    {% for person in people %}
        {% with name=person.name, image=person.image, description=person.description %}
            {% include "components/card.jinja" %}
        {% endwith %}
    {% endfor %}
</div>
{% endblock content %}
This will leave us with:
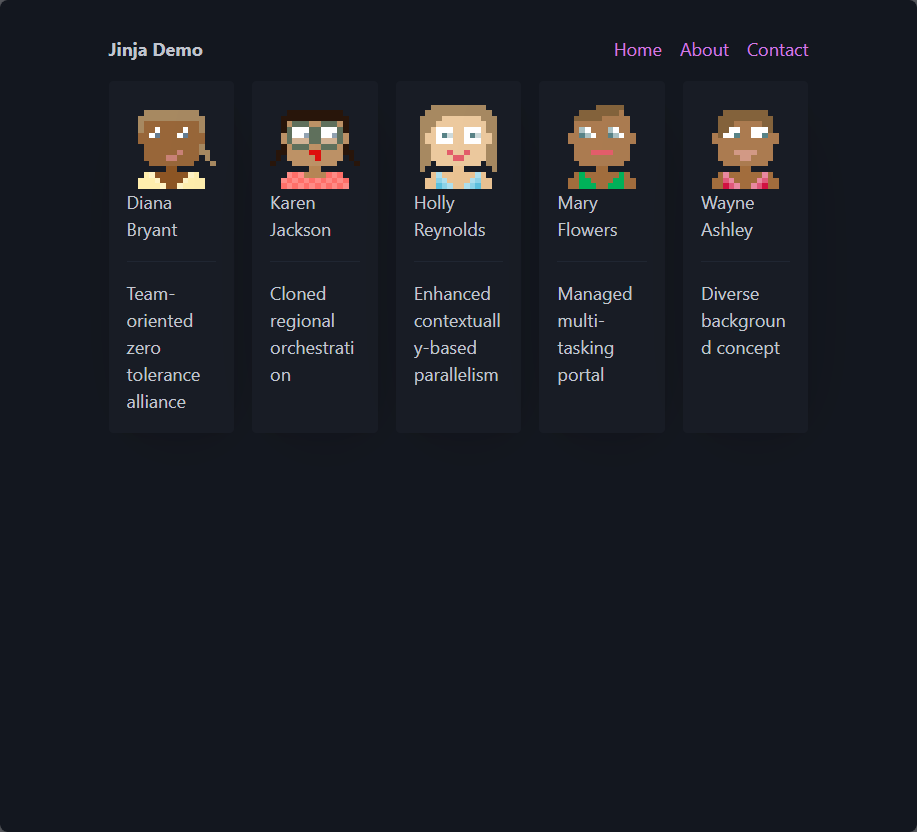
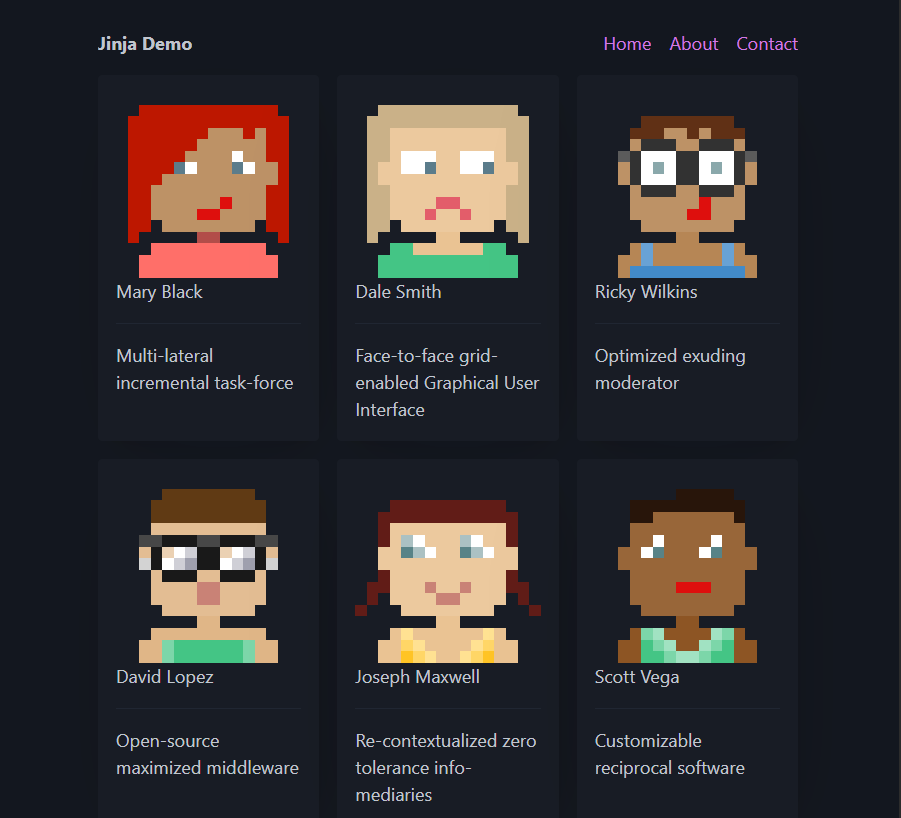
While this works, we wanted to have our people in groups of 3, so we need to modify our index.jinja file with a few small modifications. Essentially we will create groups of 3 out of the people using batch, and then render each group as a separate grid, the code looks like this:
index.jinja
{%extends "base.jinja"%}

{% block content %}
  {% for group in people|batch(3) %}
    <div class="grid">
      {% for person in group %}
          {% with name=person.name, image=person.image, description=person.description %}
              {% include "components/card.jinja" %}
          {% endwith %}
      {% endfor %}
    </div>
  {% endfor %}
{% endblock content %}
This finally gives us the look we want, and we can re-use the card on any page we want:
The Flask Version
The flask version of this setup is also very easy to do. Essentially you can copy the templates over, and then we just change main.py to use flask instead of pure jinja:
main.py
# 1. Imports & global objects
from flask import Flask, render_template
from faker import Faker

app = Flask(__name__)
fake = Faker()

def generate_person() -> dict:
  name = fake.name()
  return {
    "name":name,
    "image":f"https://api.dicebear.com/9.x/pixel-art/svg?seed={name}",
    "description":fake.catch_phrase()
  }

# 2. Setup a route for the hompage
@app.route('/')
def hello():
    people = []
    for _ in range(15):
        people.append(generate_person())
    return render_template("index.jinja", people=people)

if __name__ == '__main__':
    # 3. Run the app
    app.run(debug=True, host="0.0.0.0", port=9898)
You now have the beginnings of a web app ready to go!